November 24, 2012
Some Inspiration
November 04, 2012
October 13, 2012


October 04, 2012
Copic Markers
Have any of you ever tried using Copic Markers? I am just now trying them out. I had no idea that one end of them was a brush! So that is why I just never thought to use them. But I am doing a project right now that I thought those markers might be better than something else.
Any helpful hints or tips?
September 29, 2012
June 04, 2012
Work in progress
I work a lot right now. I cannot tell what it is, but I can give you a few sneek peeks. It is also my first time working with real gold leaf.
May 18, 2012


April 27, 2012

February 14, 2012

February 06, 2012
Jessica and Me

Jessica and I had a good time at the Highgrove in Fuquay-Varina this past weekend at their Open House for brides. We thought it might be a good place to exhibit our businesses, and we were not disappointed.
I encourage any of you who are endeavoring to start a business or grow the one that you already have, to seek out ways to reach your clientele.
February 01, 2012
adding links to this blog
Do any of you have a link of your calligraphic-ness? A blog? A website? If you want it added to the links on the right-hand side of this page, let me know.
January 27, 2012
Layout Principles


Had an enjoyable time sitting by the fire last night with those who came to the Help Session, bringing their ideas and sketches for their AGM Fanciful Letter piece.
Before the 5 women arrived, I sat down with my stack of books and read their chapters on Layout. I tried to summarize all of the various instructions into a one-page easy-to-peruse sheet.
Also, you will see the paper that was used to work out some layouts for some of the pieces. One gal had a circular piece, so you will see an illustration for that in the bottom left-hand corner. Another one had a piece suited for the portrait layout.
So, if you were unable to come, I thought you might enjoy seeing what we did, and hopefully, if you need help, you will consider the next Help Session!
January 26, 2012
Deb's Heart

Just wanted to brag a little on Deb. Today was her final session in my Italic Brush Lettering Class. We had fifteen minutes left, and I gave us both a challenge to do a piece from start to finish. A finished piece that she could take home with her.
She finished hers. I did not! Her talent just flowed out of her and she hardly had to think about it.
I'm very proud of you, Deb!
January 24, 2012

January 23, 2012
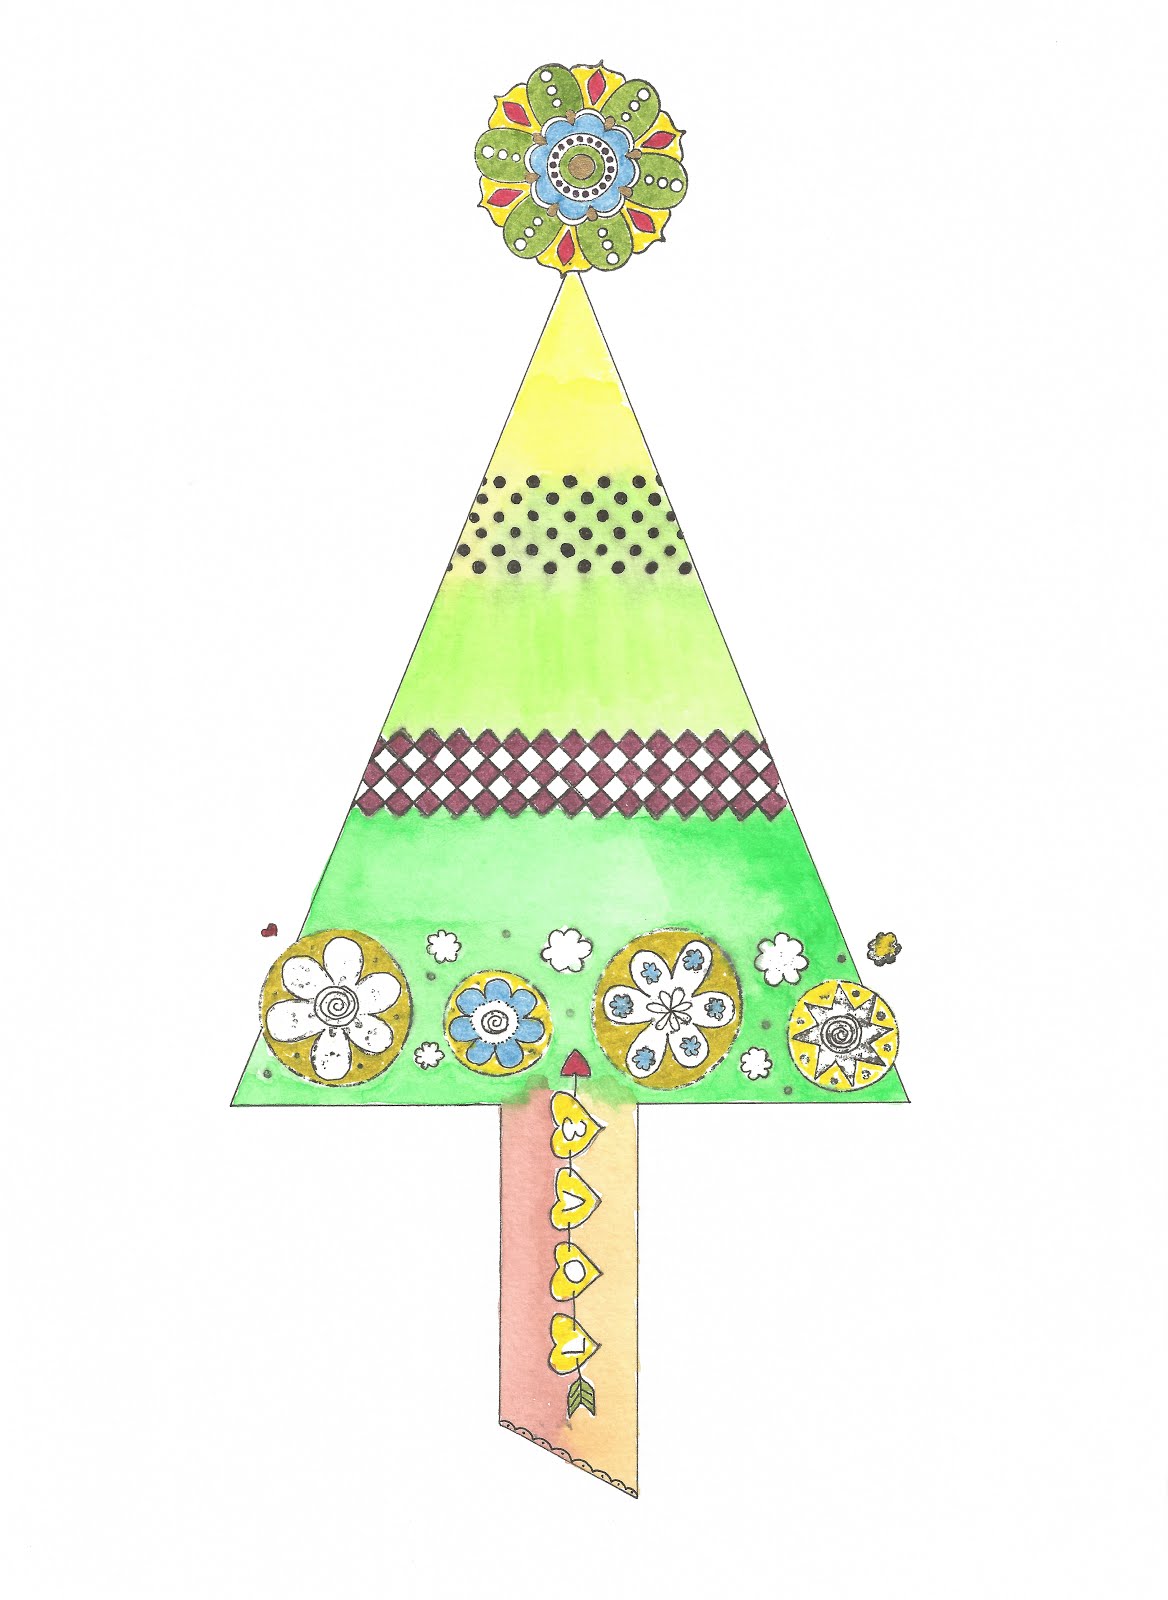
 Had lots of fun doing this one. Water color on water color paper with micron pens.
January 22, 2012


January 12, 2012
Nell's treat

In the Gilding Workshop that Peter Thornton just instructed, he lettered each student's name with his ruling pen. Here's is Nell's, which I thought was especially exciting. There was a blob of ink that fell on the page as he was lettering, so he just made it a part of the piece! Blew on it with a straw and ta-da!
As you can see, the Versals are gilded.
Subscribe to:
Posts (Atom)